

Start your braces journey with a plan
Starting your braces journey is a commitment that typically lasts 18 to 24 months. This timeline varies based on the complexity of your case, but the structure of your treatment remains consistent. Understanding what happens month by month helps you prepare mentally and practically for the adjustments ahead.
Before your first appointment, focus on three pillars: oral hygiene, diet planning, and comfort management. Your orthodontist will likely provide a detailed care guide, but starting these habits early ensures your teeth are healthy when the brackets go on. Poor oral hygiene can lead to permanent white spots or gum issues that delay treatment.
Preparation also involves logistical planning. If you are a student or professional, consider scheduling your initial placement appointment during a break or a low-stress period. The first hour after braces are put on can be uncomfortable, so having soft foods ready and orthodontic wax on hand is essential. This small step prevents unnecessary pain and keeps your focus on the long-term result.
By mapping out these initial steps, you transform an overwhelming process into a manageable sequence. The goal is not just straight teeth, but a healthy foundation that lasts a lifetime.
Prepare for your first orthodontist visit
Before you sit in the orthodontist’s chair, you need a clear picture of your dental history and insurance coverage. The consultation is not just a check-up; it is a planning session where you will determine if braces are the right tool for your specific alignment needs. Coming prepared helps you get the most out of the appointment and ensures you understand the treatment plan before any work begins.
Gather your records and insurance details
Start by collecting any recent dental X-rays or records from your general dentist, if available. While the orthodontist will take their own images, having existing records can speed up the diagnostic process. Check your insurance benefits to understand your coverage limits and any pre-authorization requirements. Bring a list of current medications and allergies, as these can sometimes influence treatment options.
Prepare your: what to check next
Writing down your questions beforehand ensures you won’t forget the details that matter most to you. Focus on the timeline, cost, and comfort. Here are essential questions to ask:
- What is the estimated duration of my treatment?
- How many adjustment visits will I need per month?
- Are there alternative treatments, such as clear aligners, that I should consider?
- What is the total cost, and what payment plans are available?
- What should I expect during the first few days of wearing braces?
Review the proposed treatment plan
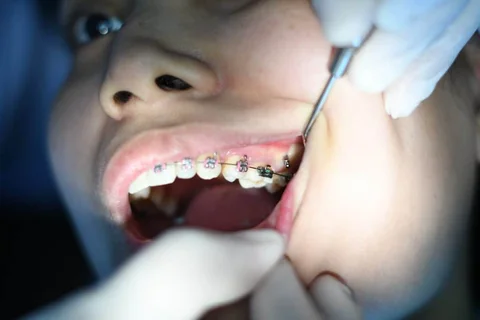
During the consultation, the orthodontist will review their findings and propose a course of action. They will explain how the braces will move your teeth, which may involve elastics or other appliances. Take time to ask for clarification on any technical terms. This is also the moment to discuss the aesthetic options, such as metal versus ceramic brackets, and how they might affect the overall look of your smile.
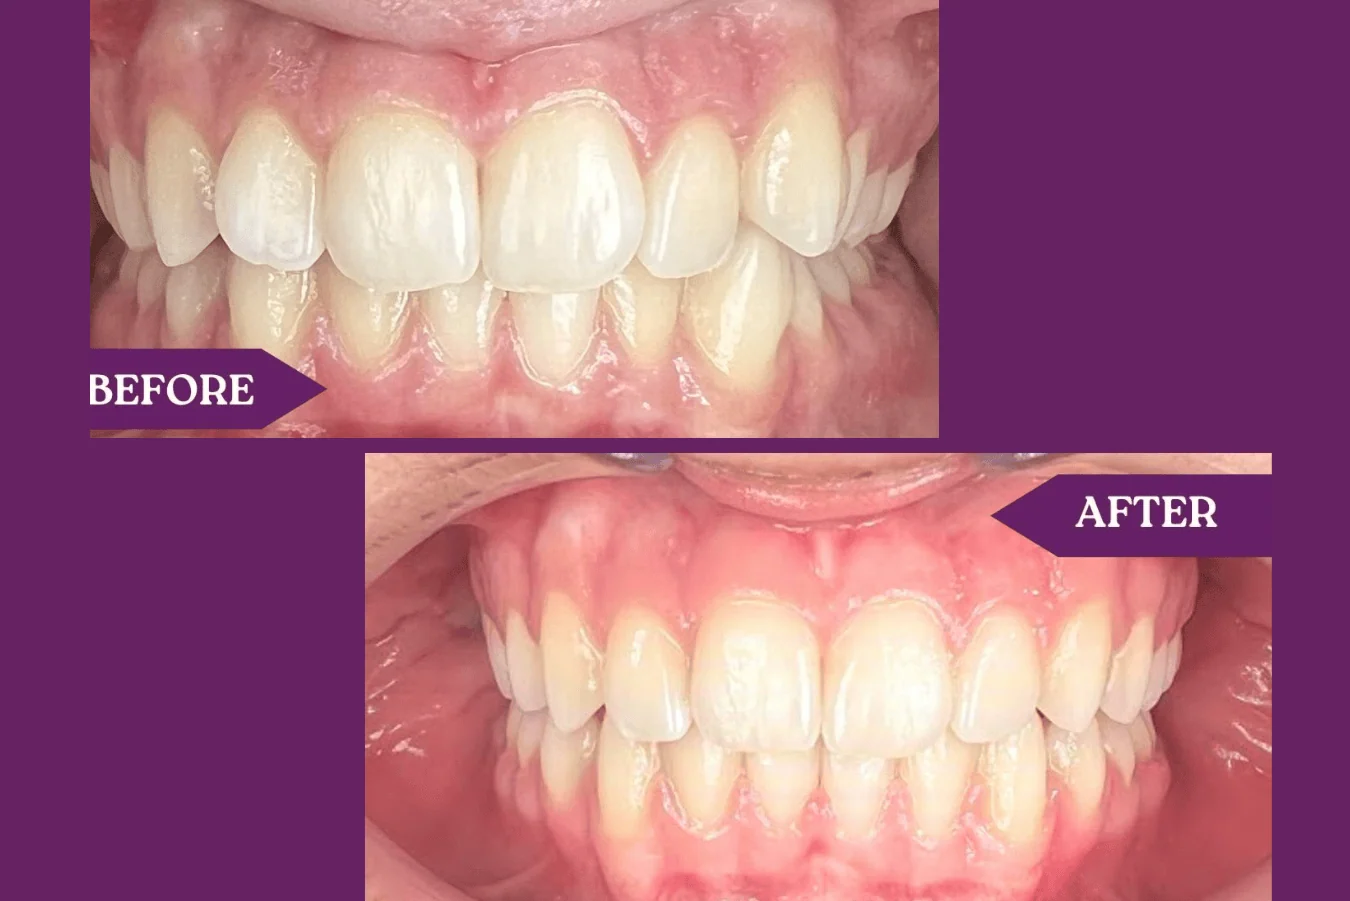
Checklist for your first appointment
Use this checklist to ensure you are fully prepared for the consultation:
-
Gather recent dental X-rays and records from your general dentist
-
Verify insurance coverage and pre-authorization requirements
-
List all current medications and allergies
-
Write down specific questions about treatment duration and cost
-
Prepare to discuss aesthetic preferences (metal vs. ceramic)
-
Bring a form of payment for the initial consultation fee, if applicable
Manage discomfort during the first week
Your teeth will feel tender and your mouth may feel irritated for the first few days after getting braces. This soreness is a normal sign that your teeth are beginning to move. The following steps help you manage this initial adjustment period effectively.
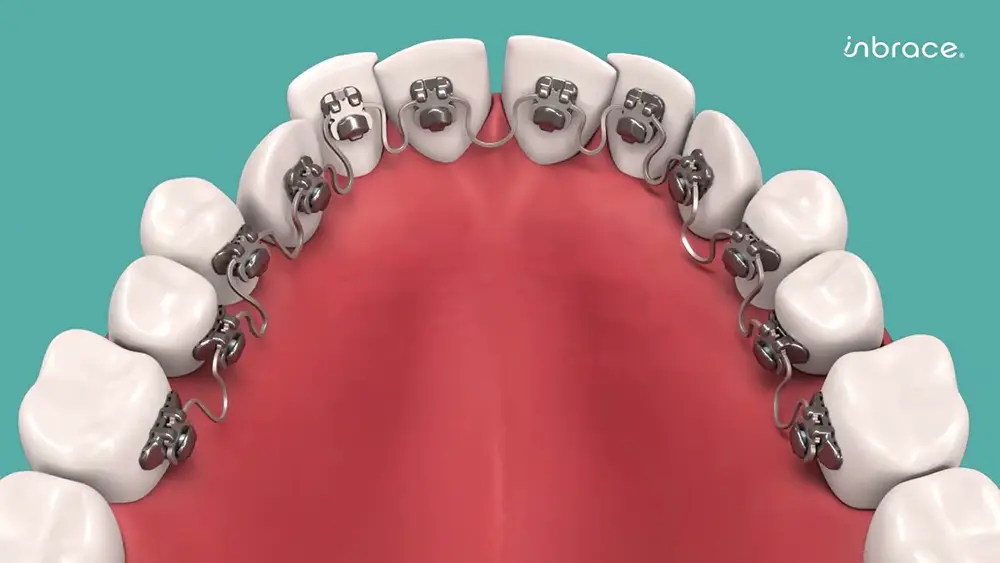
Dry the bracket with a tissue, roll a small piece of wax into a ball, and press it firmly over the offending wire or bracket. This creates a smooth barrier between the metal and your soft tissues, preventing painful sores on your cheeks and lips. Reapply as needed throughout the day.
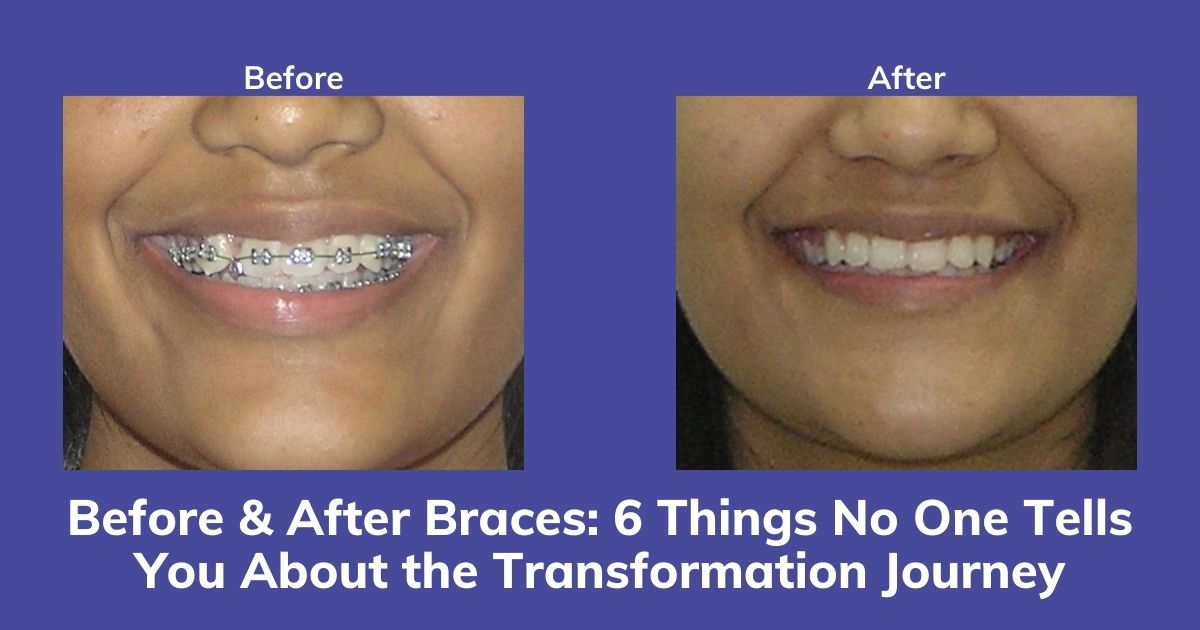
Mix half a teaspoon of salt into a cup of warm water and swish it around your mouth for 30 seconds before spitting it out. This natural disinfectant soothes inflamed gums and speeds up the healing of any minor cuts caused by the new hardware. Aim for two to three times daily.
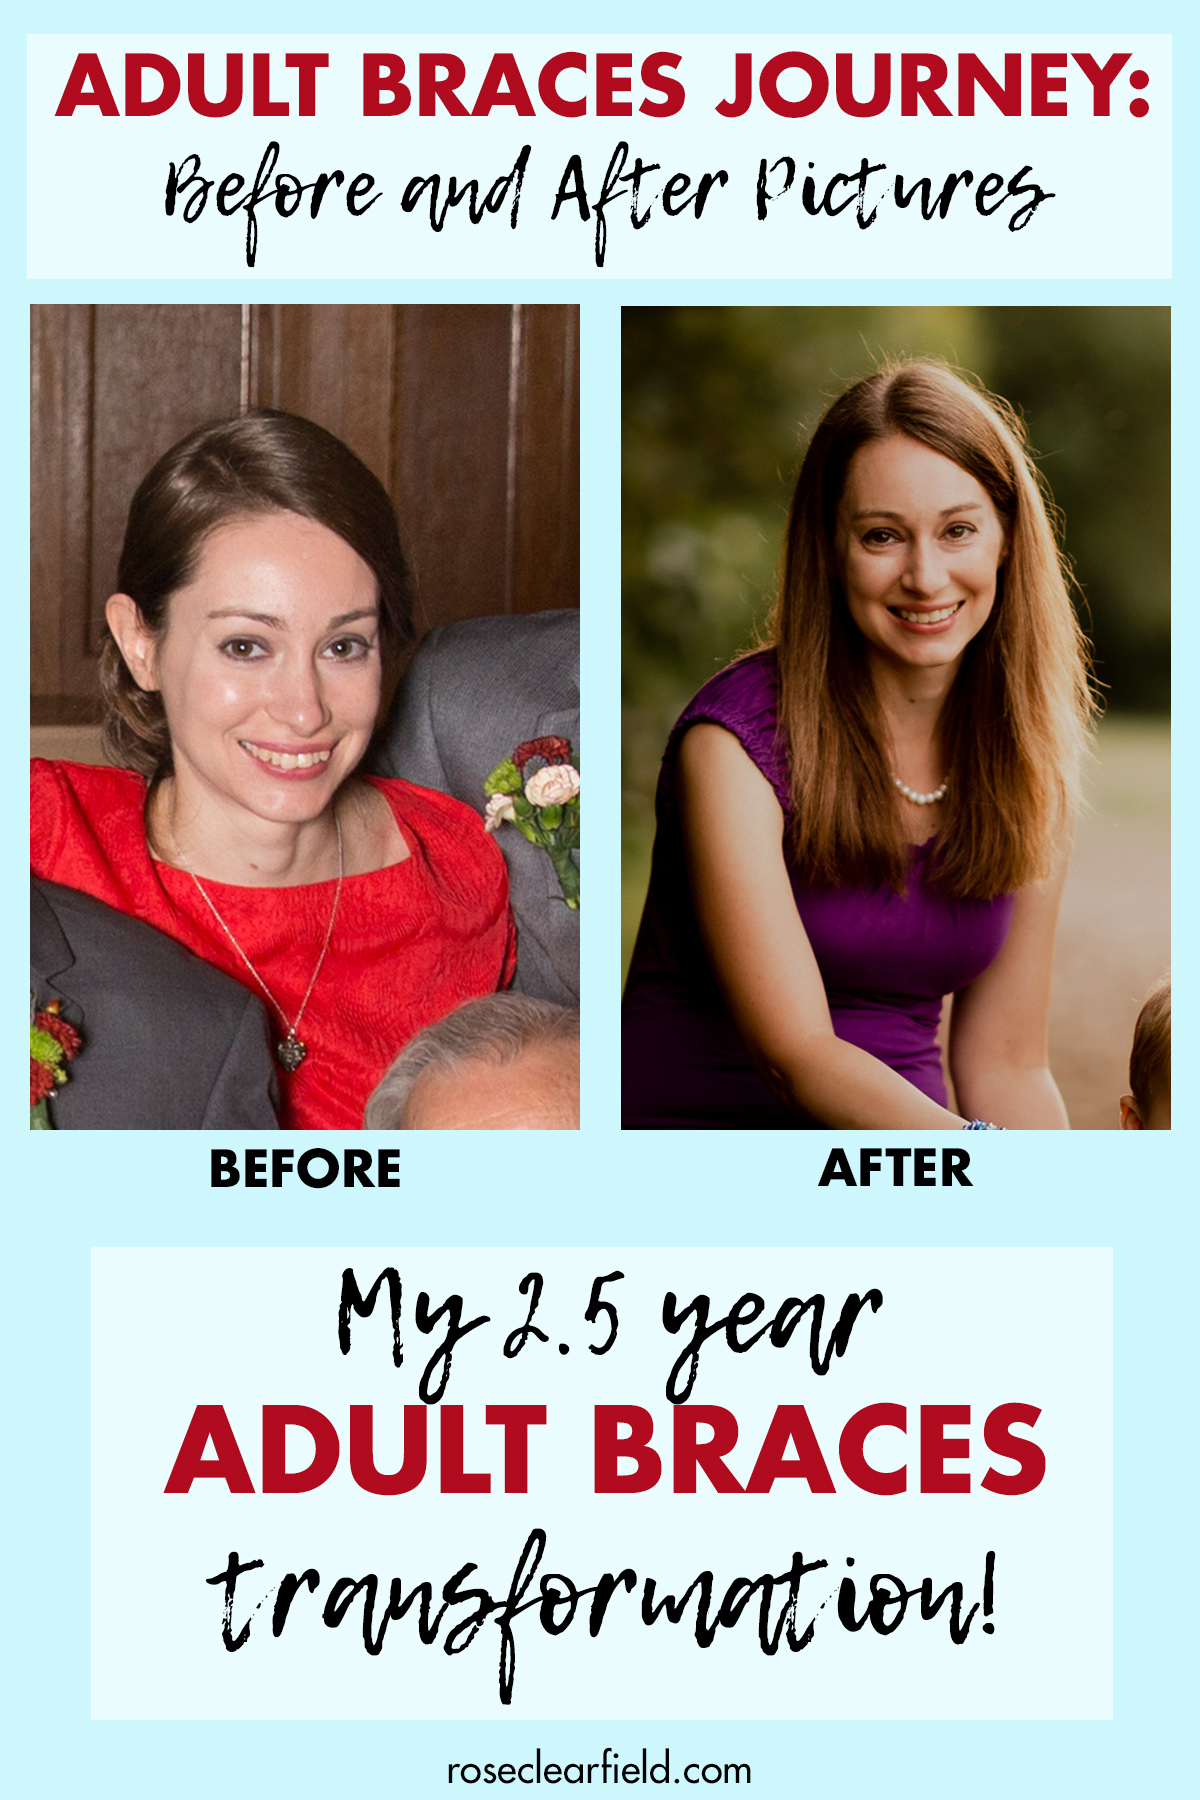
For the first three to five days, stick to foods that require no chewing, such as yogurt, mashed potatoes, smoothies, and scrambled eggs. Hard, crunchy, or chewy foods can increase pressure on sensitive teeth and potentially damage the newly bonded brackets. Gradually reintroduce firmer foods as tenderness subsides.
If the soreness becomes difficult to manage, take acetaminophen or ibuprofen according to the package instructions. These medications reduce inflammation and block pain signals, making it easier to eat and sleep. Consult your orthodontist if pain persists beyond the first week or becomes severe.
The American Association of Orthodontists notes that while discomfort is expected, it is temporary. Most patients find that their mouth adjusts within a week, and the tenderness significantly decreases. Sticking to this routine ensures your journey toward a straighter smile remains comfortable and on track.
Adapt Your Diet for Healthy Teeth
Adjusting your eating habits is one of the most practical ways to protect your braces and keep your treatment on schedule. Hard, sticky, and chewy foods can bend wires, pop brackets off teeth, or get trapped where your toothbrush cannot reach. By choosing softer options and cutting foods into manageable pieces, you reduce the risk of costly emergency visits and keep your smile progressing smoothly.
Start by cutting hard items like apples, carrots, and crusty bread into small, bite-sized chunks. This simple step removes the leverage needed to break brackets. Avoid chewing directly on hard objects like ice, hard candy, or nuts. Sticky treats such as caramel, taffy, and gummy candies act like glue, pulling wires out of alignment and leaving residue that is difficult to clean. Even tough meats like steak or jerky should be sliced thinly to prevent unnecessary strain on your hardware.
The goal is to maintain oral hygiene while eating. When you consume foods that are prone to sticking, you must brush and floss immediately afterward to prevent plaque buildup and enamel decay around the brackets. The American Association of Orthodontists notes that dietary choices play a significant role in the success of orthodontic treatment.
Safe vs. Risky Foods
Use this comparison to quickly identify which snacks fit into your daily routine without risking damage to your braces.
| Category | Safe Choices | Foods to Avoid | Why It Matters |
|---|---|---|---|
| Fruits & Vegetables | Bananas, cooked carrots, soft berries | Raw apples, corn on the cob, nuts | Hard textures can break brackets. |
| Proteins | Tender chicken, fish, eggs, soft tofu | Steak, jerky, tough bacon | Tough meats require excessive chewing force. |
| Snacks | Yogurt, pudding, applesauce, soft cheese | Caramel, taffy, gummy bears, hard candy | Sticky foods pull wires and trap sugar. |
| Grains | Soft bread, pasta, rice, pancakes | Bagels, crusty rolls, hard pretzels | Hard crusts can dislodge hardware. |
Adhering to these guidelines helps ensure that your orthodontic journey remains comfortable and effective. By being mindful of what you eat, you protect your investment in a straighter smile and avoid unnecessary setbacks.
Master oral hygiene with braces
Cleaning teeth with braces requires more effort than a standard routine. Brackets and wires trap food particles and plaque, creating high-risk zones for white spots and gum inflammation. Without daily precision, enamel demineralization can occur around the brackets.
Follow this sequence to keep your teeth and gums healthy during treatment. The American Association of Orthodontists emphasizes that consistent cleaning is the primary factor in maintaining oral health throughout orthodontic therapy AAO.
Position your toothbrush bristles at a 45-degree angle against the gumline and the upper surface of the brackets. Use gentle, circular motions to clean around the edges of each bracket. Spend extra time on the areas where the wire meets the bracket, as plaque accumulates rapidly here. Brush for at least two minutes, covering all outer, inner, and chewing surfaces.
After brushing the tops and sides, tilt your brush vertically to clean the inner surfaces of your teeth. Use an interdental brush or a single-tufted brush to reach tight spaces under the archwire and behind the back molars. These areas are often missed during standard brushing but are critical for preventing gum disease.
Flossing with braces requires a threader or a plastic guide. Push the threader through the wire and under the gumline, then remove the threader and floss normally between each tooth. Alternatively, use a water flosser to blast away debris from hard-to-reach spots. Floss at least once a day to remove plaque between teeth where brushes cannot reach.
Prevent common hygiene mistakes
Many patients rush through their cleaning routine, leading to plaque buildup. Avoid skipping the inner surfaces of your teeth, as this is a primary site for decay. Do not use excessive force when brushing, which can damage gums and loosen brackets. Consistency matters more than speed; a thorough two-minute clean is better than a rushed five-minute session.
Track Progress Through Adjustment Visits
Adjustment appointments are the engine of your orthodontic treatment. While the initial placement sets the foundation, these regular visits allow your orthodontist to apply the precise forces needed to move teeth into their final positions. Without them, braces simply sit idle.
What Happens During an Adjustment
Think of an adjustment as a tune-up for your smile. During these visits, which typically occur every four to eight weeks, your orthodontist will:
- Tighten wires: Archwires are adjusted or replaced to increase pressure on specific teeth.
- Swap elastics: Rubber bands may be changed to correct bite alignment or jaw positioning.
- Check progress: The orthodontist inspects brackets for damage and monitors overall alignment against the treatment plan.
Why Regular Visits Matter
Skipping or delaying adjustments can extend your treatment timeline significantly. Teeth only move when consistent, controlled force is applied. Gaps between visits allow teeth to drift back toward their original positions, resetting progress. Regular check-ins ensure the treatment stays on track and complications like broken brackets are caught early.
Preparing for Your Next Visit
Keep a log of any discomfort or loose wires between appointments. This helps your orthodontist tailor the adjustment to your current needs. Bring your list of questions to the chair to make the most of your time. Consistent attendance is the single biggest factor in finishing your braces journey on schedule.
Common questions about braces care
Managing braces involves handling soreness, keeping teeth clean, and fixing minor hardware issues. These steps help you avoid emergencies and stay on track for your treatment timeline.
How long does braces soreness last?
Your teeth typically feel tender for three to seven days after your braces are put on or adjusted. This soreness is normal as the brackets and wires shift your teeth into place. Over-the-counter pain relievers like ibuprofen or acetaminophen can help manage the discomfort. You can also stick to soft foods like yogurt, mashed potatoes, and smoothies until the tenderness subsides.
What should I do if a wire pokes my cheek?
A poking wire is a common issue that can cause irritation to your gums and cheeks. If the wire shifts, use a clean cotton swab or pencil eraser to gently push it back into place. If you cannot reposition it, cover the sharp end with orthodontic wax to protect your mouth. For persistent poking wires, contact your orthodontist for a quick trim or adjustment.
How often should I floss with braces?
You should floss at least once a day, ideally before bed, to remove food particles and plaque trapped under the wires. Use a floss threader or a water flosser to navigate around the brackets effectively. The American Association of Orthodontists emphasizes that consistent hygiene prevents white spots and gum disease during treatment. AAO Care Tips
No comments yet. Be the first to share your thoughts!